
Everyone knows about the numerous heath benefits of Yogurt! I love it, especially in Summer, so cool, refreshing and satisfying! Apart from enjoying it as is, or with fruits or natural flavors, I also use it in a lot of chutneys, dips, marinades, rice dishes, curries, frozen delights and what not!

When I was young, living in India there was no such thing as "store bought yogurt", my Mom used to make it at home with two simple ingredients- Live Yogurt cultures and Milk- that's all! She still does that!
As we grew up moved to big cities, busy lives there was no more fresh, organic and homemade Yogurt. Just a quick store bought pack. But since a few years I have gone back to the traditional style, the main reason being, when I look at the label there are so many ingredients in there, Now I am no expert or a doctor but I sure can apply some common sense, right? There may be a few organic, two ingredient versions, but they will sure cost you some good money, you can do the same thing at home for a fraction for a price!
So I said 'NO' to all artificial flavors & ingredients (not to forget the hefty prices), and started making it at home as Mom does it. Believe me once you start doing this you will not go back to buying it, it tastes so much better and is so much healthier.
And you don't need any expertise or expensive machines to do this.
Ingredients:
3 Tbsp Live Active Cultures (use a small pack of organic unflavored natural yogurt with active live cultures for the first time, for the next batch you can use your own Yogurt, remember the lesser the ingredients the better)
500 ML Milk of your preference(I use skimmed)
Glass Bowl
Towel
Method:
Heat the milk to Luke warm, this is the only tricky part, it should not be too cool or too hot, something that you do with yeast when making breads.
Mix the store Yogurt with fork to smooth consistency, add 3 Tbsp to the Milk, mix well.

Pour in a glass bowl, cover and keep it in a warm place to set, what I do is set my oven to a low temperature and pre-heat, when it is warm (not hot), turn it off and place the bowl in it wrapping up in a towel.


Let it set for about 6-8 hours.
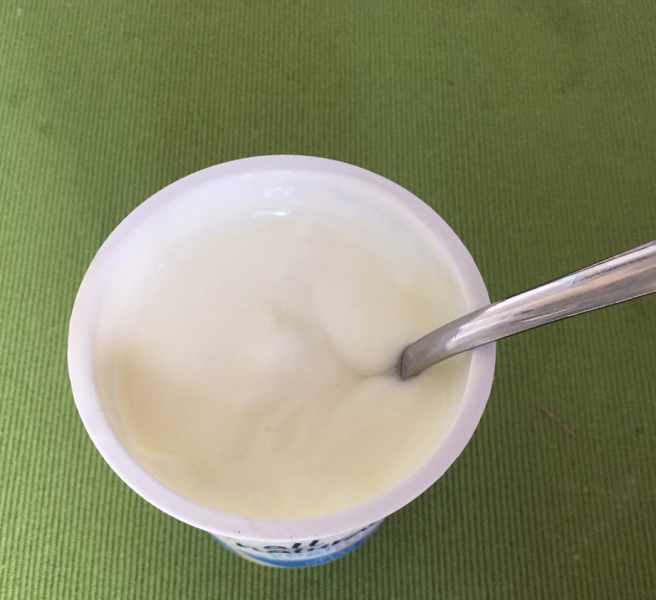
Check it, you will see a little water (whey) on top and it will thicken, you can slightly turn the bowl to check if it is set.


You are done.
Refrigerate and use in same time as the expiry on your milk carton.
Use yogurt from this to make your next batch, and you would never need to buy it again.
Flavor and mix with whatever you like! Yummy!
Enjoy!!
------Make Greek Yogurt: Thick and Creamy-----


You may find the texture of homemade yogurt a bit different from the store bought one, it is slightly more watery, if you like a more creamy and thick (this version is also great when you use it in cooking) just a one more simple step and turn it into "Greek Yogurt or Strained Yogurt"
Hang it in a clean washed muslin cloth or you can use any clean cotton cloth, preferably white, drain it for about an hour this will separate all the whey (watery part) from it and you will get your thick and creamy version, not such a big task for something homemade and natural, right!
A few helpful tips-
Method A-
Stretch the cloth over the top of a large bowl.
Make a dip in the cloth, like a strainer, secure the cloth to the bowl with rubber-bands or clips.
Then pour the set yogurt into the cloth strainer.
Let it drain for about an hour, throw away the water and store the creamy yogurt.
Method B-
Line your large strainer with cloth. Place it over a bowl.
Then pour the set yogurt into the cloth strainer.
Let it drain for about an hour, throw away the water and store the creamy yogurt.
Method C-
Place you cloth in a bowl.
Pour the set yogurt over it.
Tie together the four ends of the cloth.
Put the bundle through a large spoon or spatula.
Place it over the bowl to drain.
Look out for interesting 'Yogurt Recipes' coming soon on the blog!


Look out for interesting 'Yogurt Recipes' coming soon on the blog!


No comments:
Post a Comment
Thank you for stopping by and taking time to write your Comment/Feedback!