Make these stylish & fun fabric belts with this easy DIY! It will cost you less than $5! They can be
worn on Jeans or Dresses! Adjustable and sleek!


Materials:

Thick Cotton Webbing (Width of your Choice) (Available at any fabric shop) (Usually $2 solid to $4 Pattern Per Meter)
Bag Buckle (for adjustable Straps - Size according to the webbing) (Available at any hobby shop $1-$2 for one or two)
Fabric Glue
Thread - Thick
Needle - Medium Sized
Scissors
Steps:
Cut the webbing in desired size, I have used slightly longer as I intend to use the belt on both jeans and on dresses. If you want to make it for jeans measure the waist of jeans and for dresses measure your upper waist. Take a few inches extra (take at least 7-8 inches extra).
Next, apply fabric glue to one end of the webbing to prevent it from fraying. Let it dry,


On the other end sew the webbing on the middle part of the buckle. Follow the pictures. Make sure that your thread is strong,

Slightly fold at middle part of buckle from front to back,
 Sew at back,

Insert the needle on upper part like this to hide the knot,

Hand Sew using back-stitch so that your stitch stays strong,

Finish the stitch and cut the thread.

That's all, your belt is ready!

Put in the other side to tie,

 Pull to adjust,


You can use double sided webbing for two different patterns, It can be worn on both sides!


Make as many as you like!
Happy Sewing!


worn on Jeans or Dresses! Adjustable and sleek!


Materials:

Thick Cotton Webbing (Width of your Choice) (Available at any fabric shop) (Usually $2 solid to $4 Pattern Per Meter)
Bag Buckle (for adjustable Straps - Size according to the webbing) (Available at any hobby shop $1-$2 for one or two)
Fabric Glue
Thread - Thick
Needle - Medium Sized
Scissors
Steps:
Cut the webbing in desired size, I have used slightly longer as I intend to use the belt on both jeans and on dresses. If you want to make it for jeans measure the waist of jeans and for dresses measure your upper waist. Take a few inches extra (take at least 7-8 inches extra).
Next, apply fabric glue to one end of the webbing to prevent it from fraying. Let it dry,


On the other end sew the webbing on the middle part of the buckle. Follow the pictures. Make sure that your thread is strong,


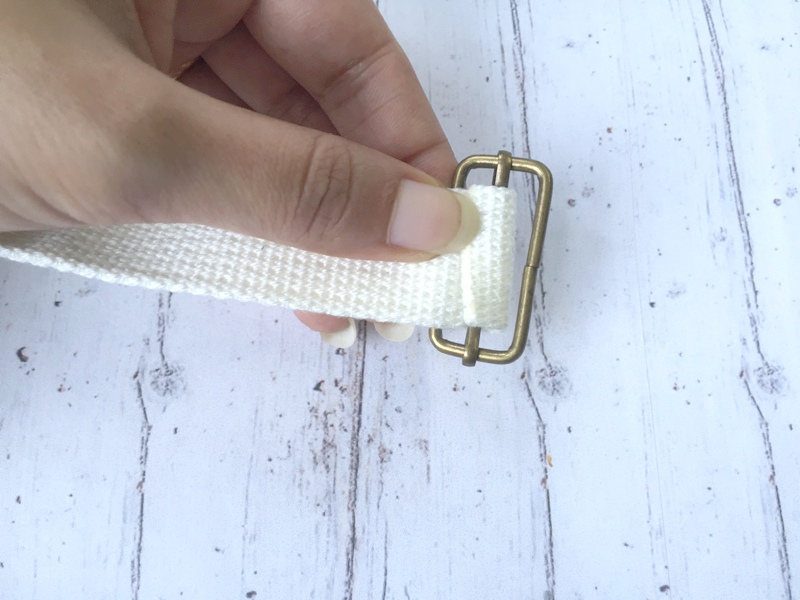


Finish the stitch and cut the thread.

That's all, your belt is ready!


Make as many as you like!
Happy Sewing!